12 Baking Tips Every Beginner Should Try First
Baking may feel overwhelming at first, but with a few simple habits, you can make it both fun and rewarding. From mastering measurements to learning how your oven really works, these beginner-friendly tips will help you avoid common mistakes and get better results. Each step is practical and easy to follow, building your confidence one bake at a time. With patience and practice, you’ll find that cakes rise taller, cookies come out evenly golden, and breads taste fresher. Here are 12 baking tips every new baker should start with.
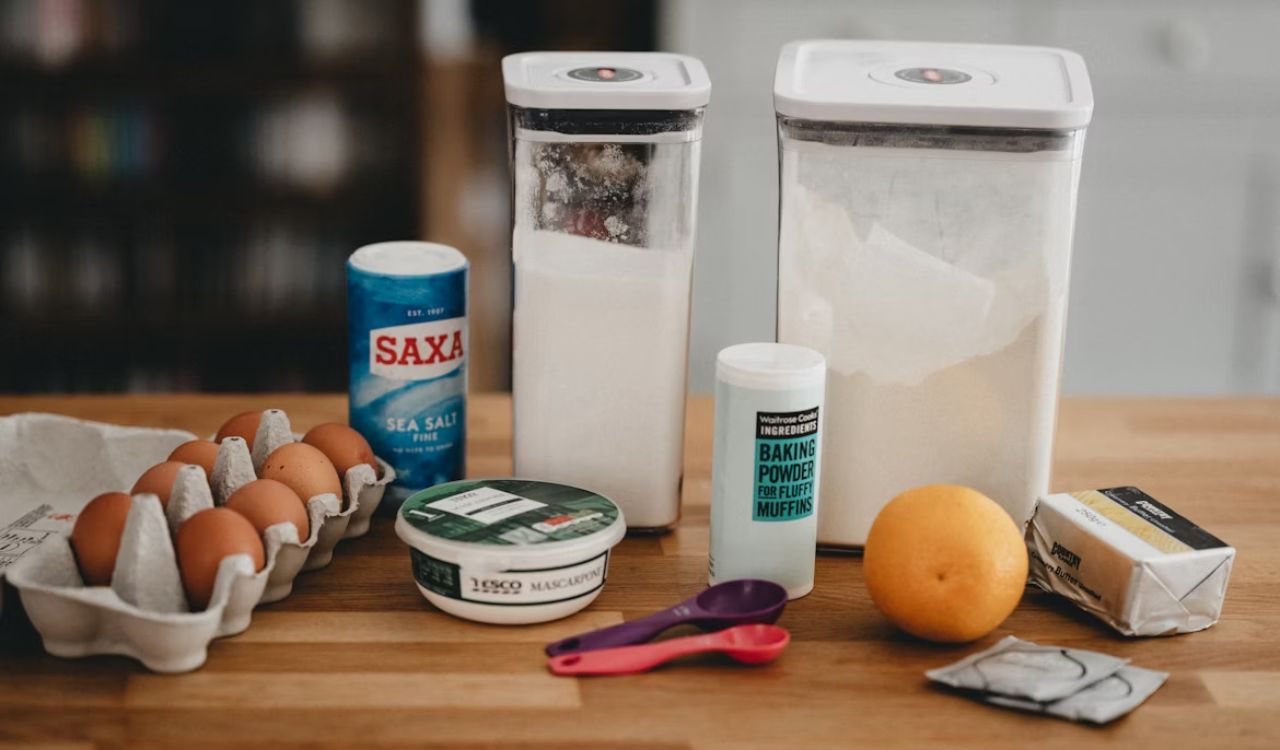
Always Measure Ingredients Accurately
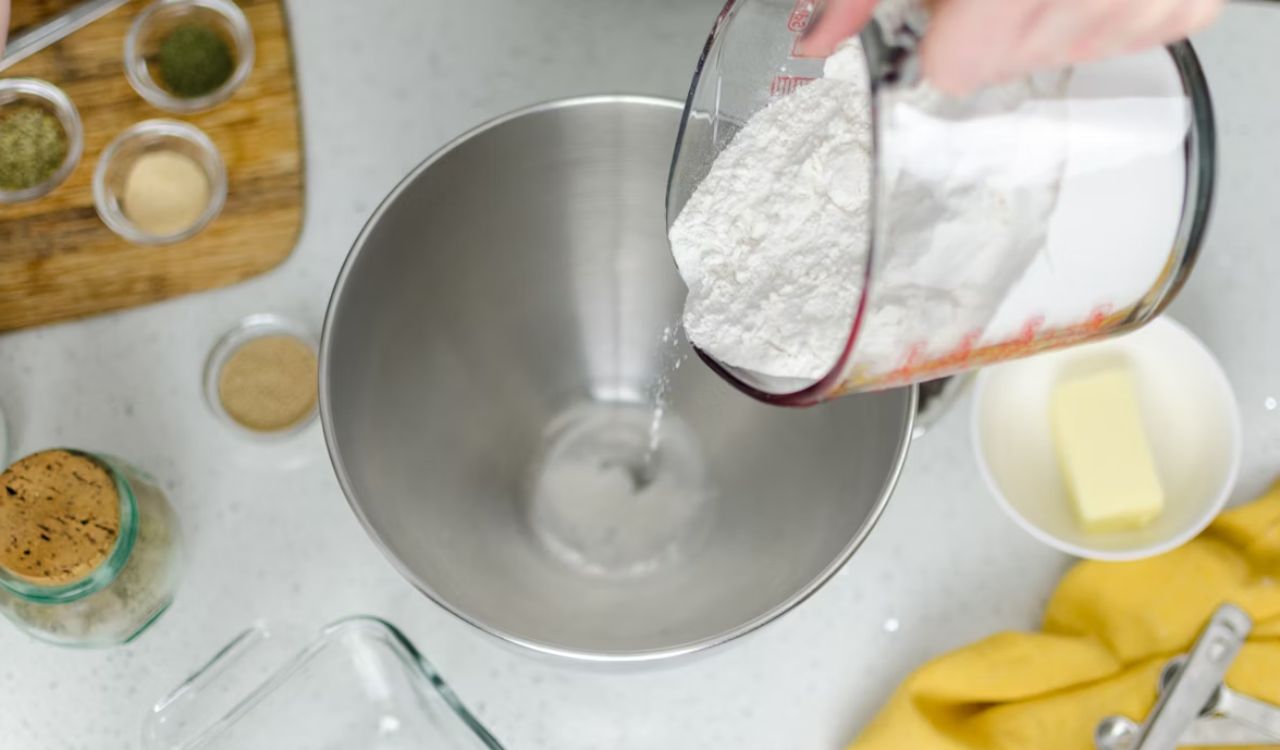
Precision matters: scooping flour directly can pack 15–30 grams extra per cup, leading to dense, dry bakes. Spoon‑and‑level if using cups, and for best results weigh ingredients on a digital scale for consistent ratios. Measure liquids at eye level in clear cups to prevent parallax errors. A scale is especially useful for bread and pastry where small hydration shifts change texture.
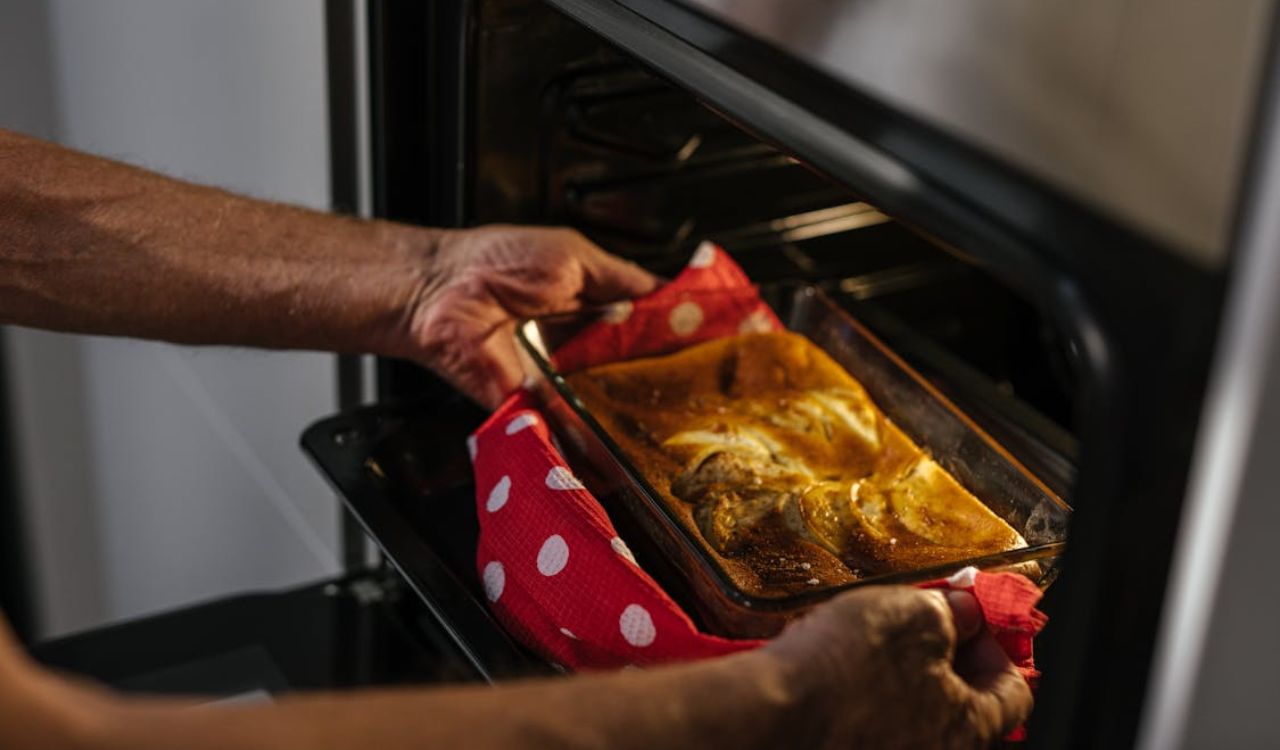
Preheat Your Oven Before Baking
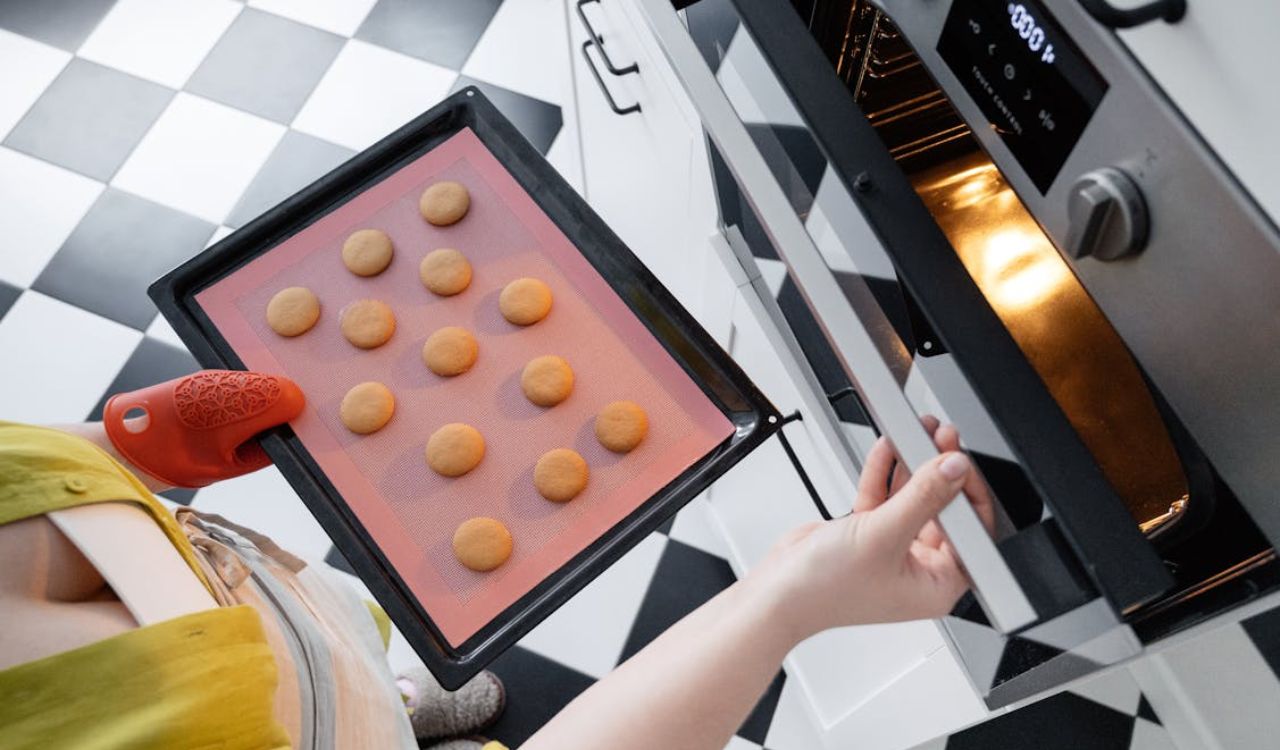
A fully preheated oven gives leaveners the initial heat needed to rise and set structure; starting cold can cause cookies to spread and cakes to collapse. Most ovens require 10–15 minutes to stabilize, so confirm with an oven thermometer or indicator light before loading trays. While a few recipes start cold, most bakes rely on steady, preheated temperatures.
Bring Ingredients to Room Temperature
Room‑temperature butter and eggs cream and emulsify smoothly, trapping air for lift and a fine crumb. Cold eggs can curdle the mixture and reduce rise. Set ingredients out 30 minutes ahead, or place eggs in lukewarm water for 5 minutes. Aim for pliable, not greasy, butter before creaming with sugar to build structure.
Don’t Overmix Your Batter
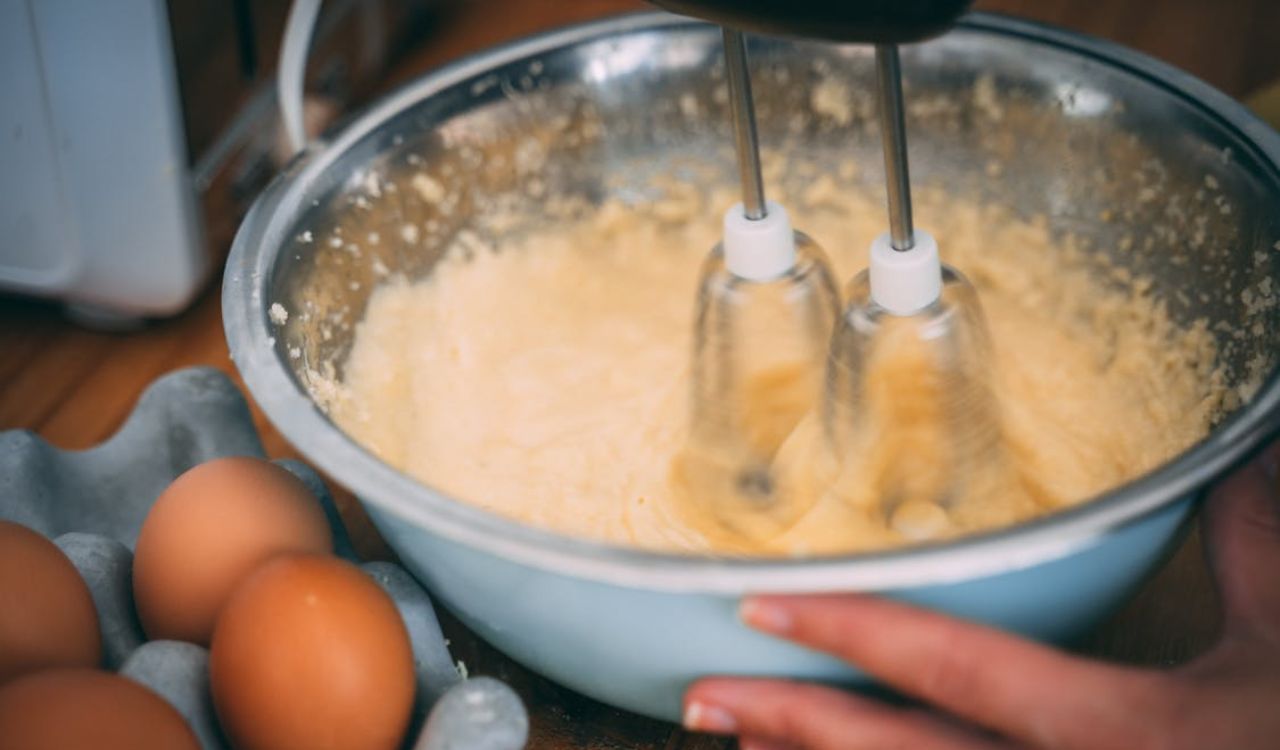
Overmixing after flour is added develops excess gluten, yielding tough cakes and rubbery muffins; in quick breads it can cause tunneling. Mix just until no dry streaks remain, and fold add‑ins gently with a spatula to preserve air. Keep mixer speed low once flour is incorporated to limit gluten formation.
Use the Right Bakeware Size
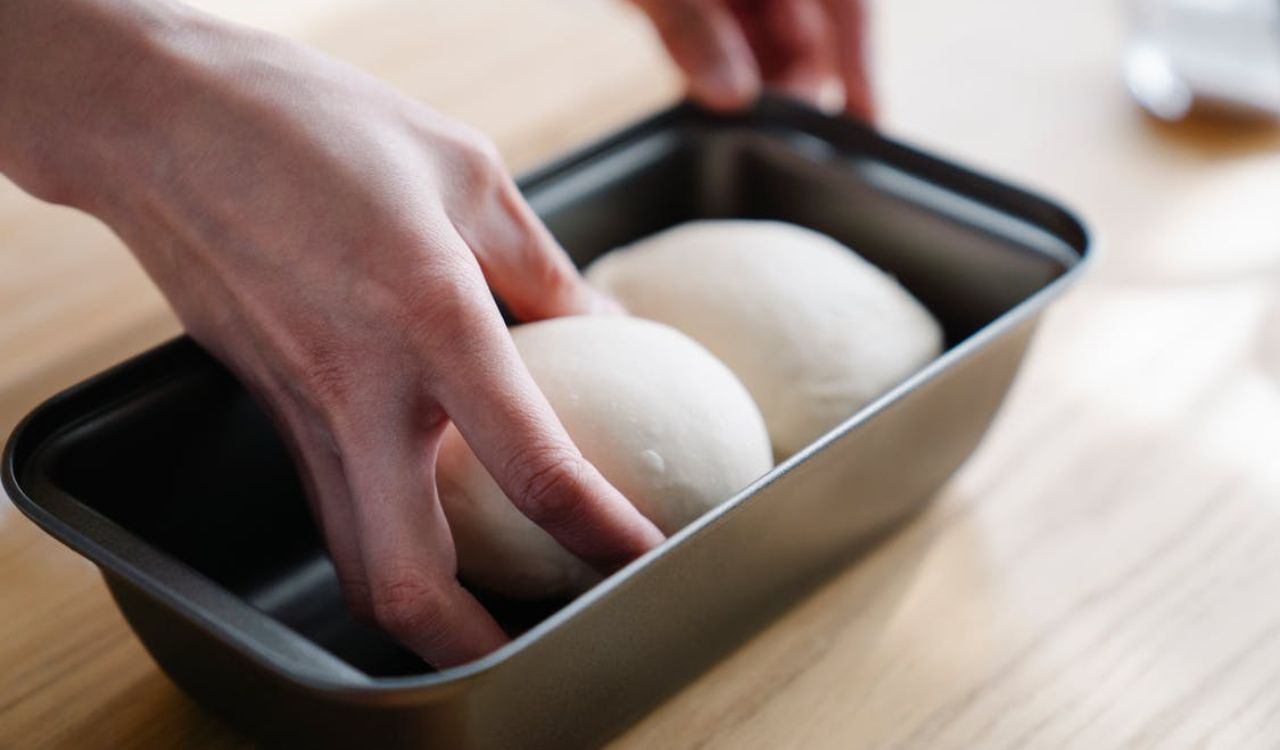
Pan size controls thickness and bake time. A 9×13 pan is about 117 in², while an 8×8 is 64 in² (nearly half) so batters in 8×8 bake thicker and need more time, or split into two pans to maintain thickness. If substituting, keep the temperature the same and start checking earlier, adjusting as needed.
Check Oven Accuracy with a Thermometer
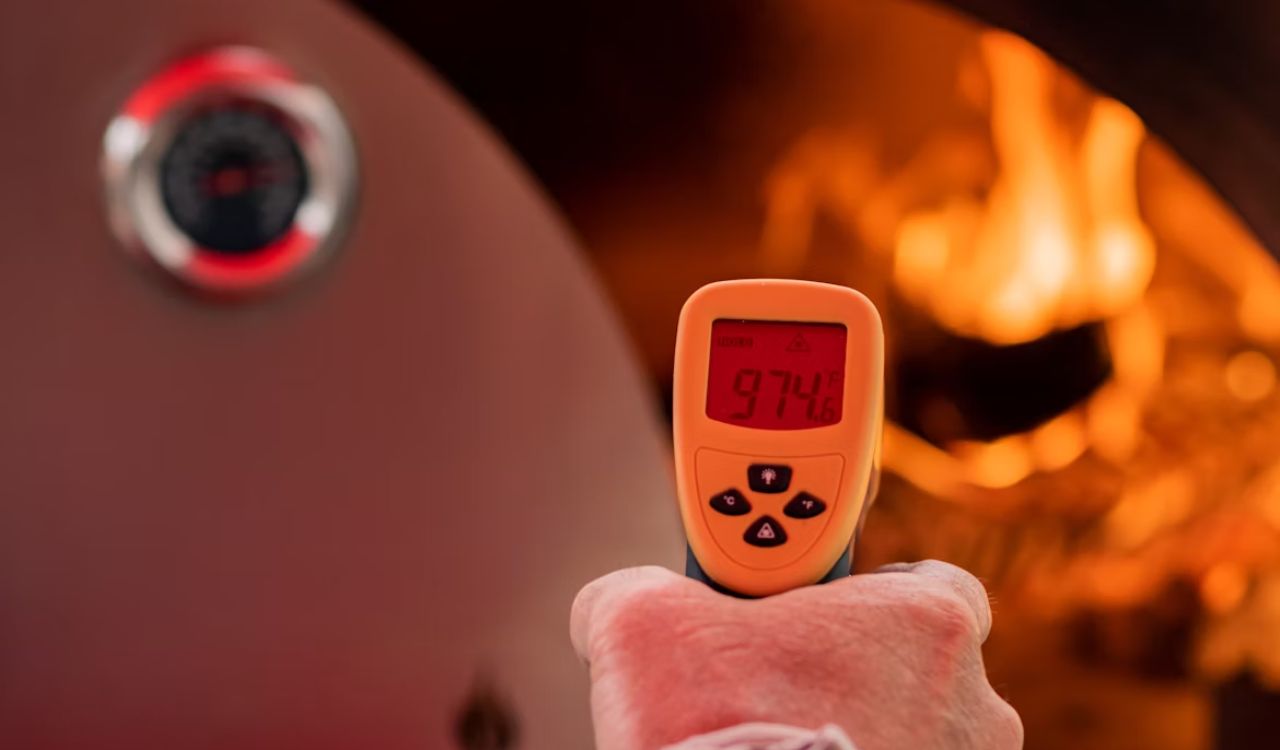
Oven dials can be inaccurate; place an inexpensive thermometer inside to learn true temperature and calibrate as needed. Map hot spots by moving the probe to different positions, then rotate pans midway for even browning. Understanding your oven’s quirks improves consistency across cookies, cakes, and breads.
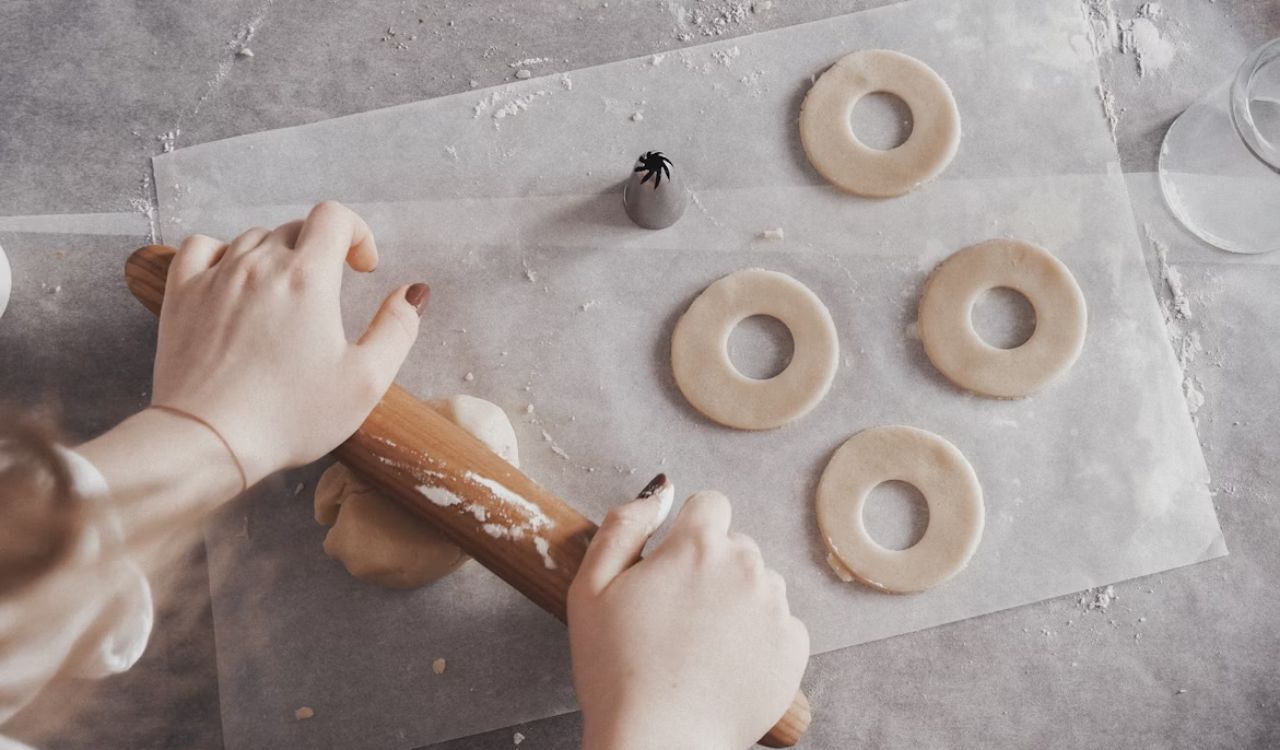
Line Pans with Parchment Paper

Parchment paper is a beginner’s best friend. It prevents cakes, brownies, and cookies from sticking, which means they come out neatly without breaking apart. It also makes cleanup far faster, sparing you the hassle of scrubbing pans. For cakes, trace the bottom of the pan on parchment and cut it to size. For cookies, simply lay a sheet across the tray instead of greasing. If you want a reusable option, silicone baking mats work well too. This one habit eliminates one of the biggest frustrations new bakers face and guarantees a smoother, more enjoyable process.
Rotate Trays During Baking
Because ovens heat unevenly, rotate baking sheets front‑to‑back halfway through. If using two racks, swap positions to even exposure. Close the door gently to minimize heat loss and maintain a steady environment for level cakes and uniformly browned cookies.
Resist Opening the Oven Door Too Often
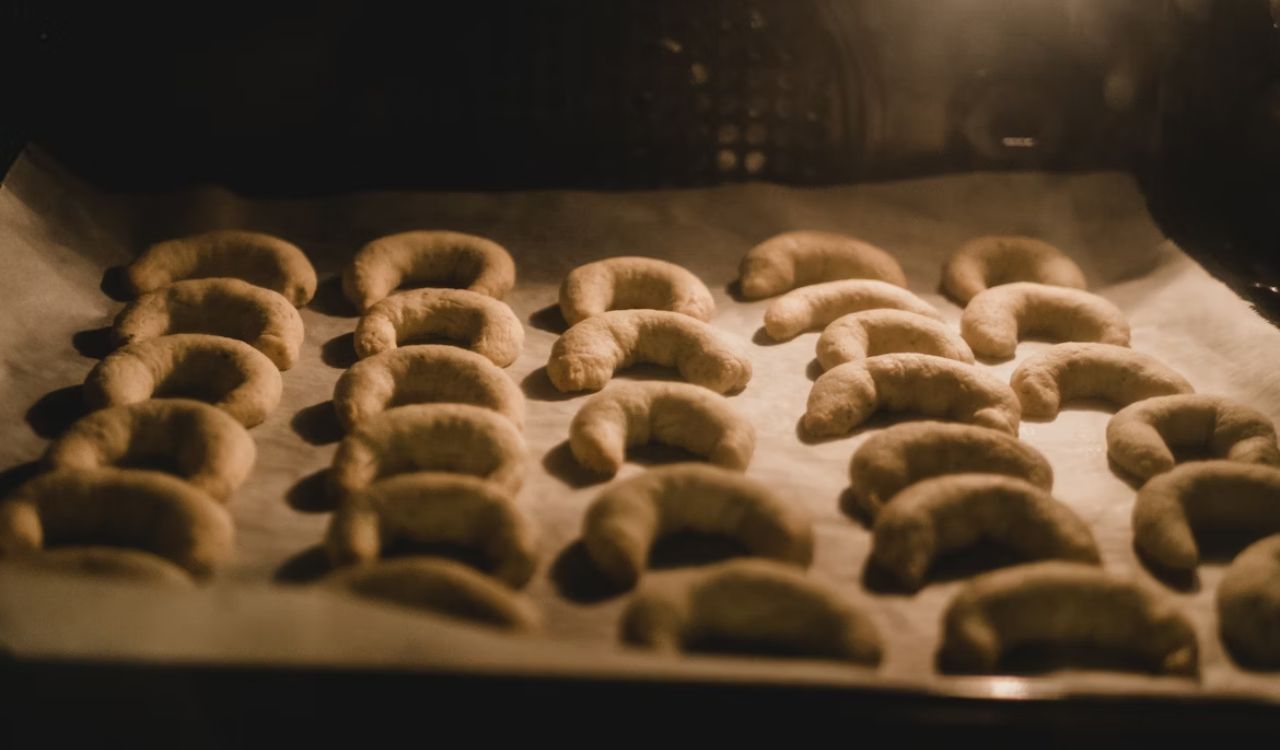
Each peek releases heat and can drop the temperature enough to disrupt rise and setting. Use the window and oven light, and wait until minimum bake time before checking. If opening is necessary, do it quickly and close softly to preserve heat and structure.
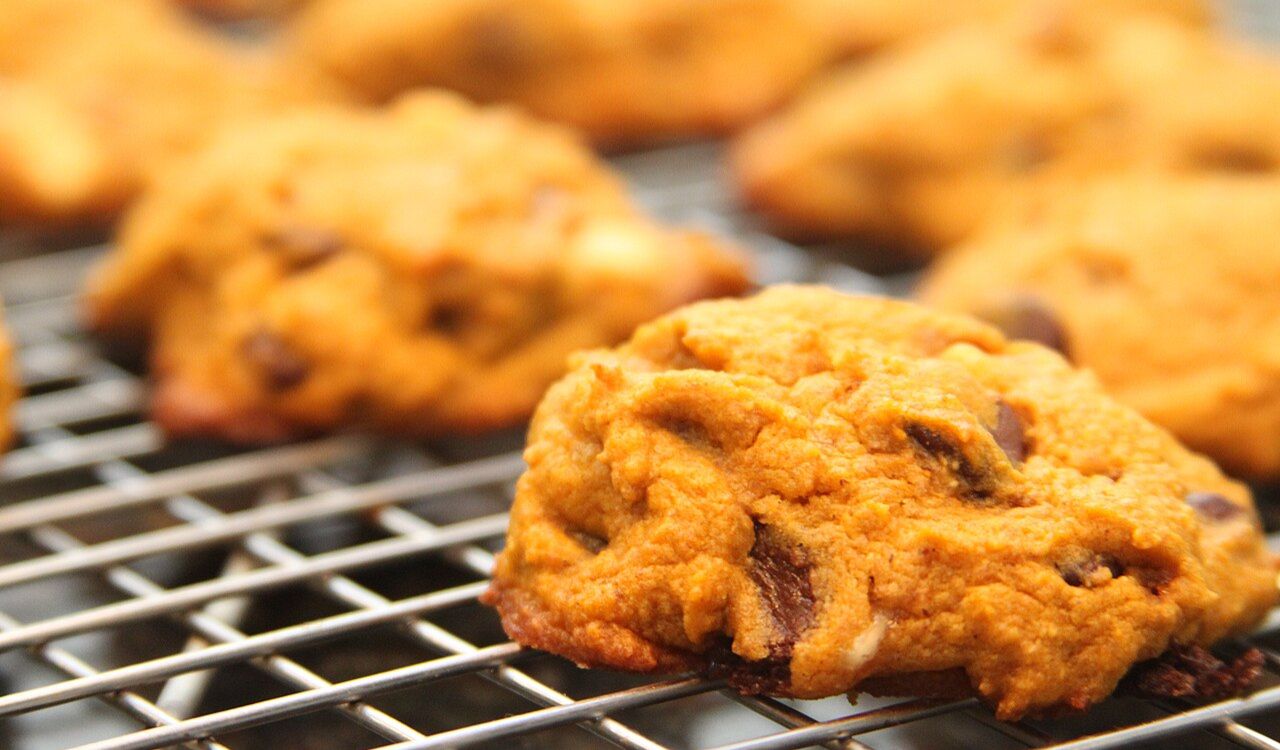
Test Doneness the Right Way
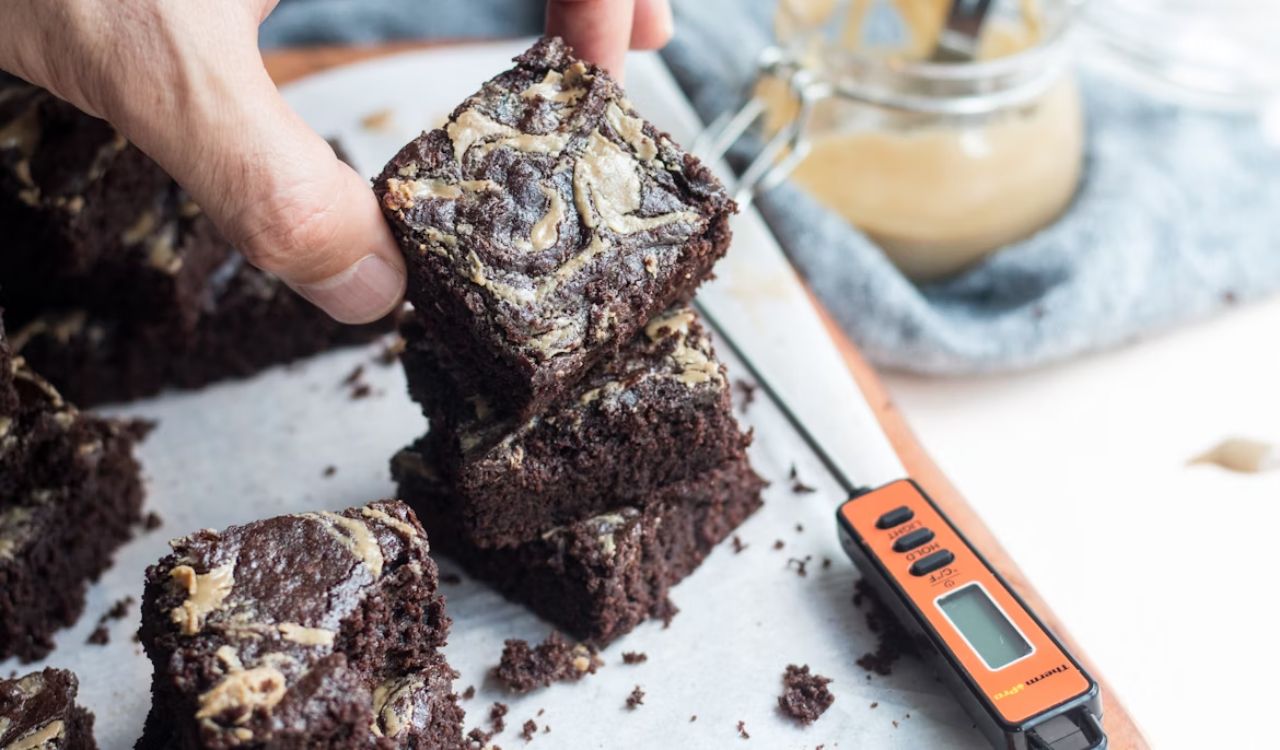
Do not rely on time alone. For cakes, a toothpick should come out clean or with a few moist crumbs; for sandwich breads, aim for an internal 190–200∘F. Cookies should be set at the edges and slightly soft in the center, finishing as they cool on the sheet. These checks prevent underbaked centers and dry edges.
Cool Baked Goods Properly
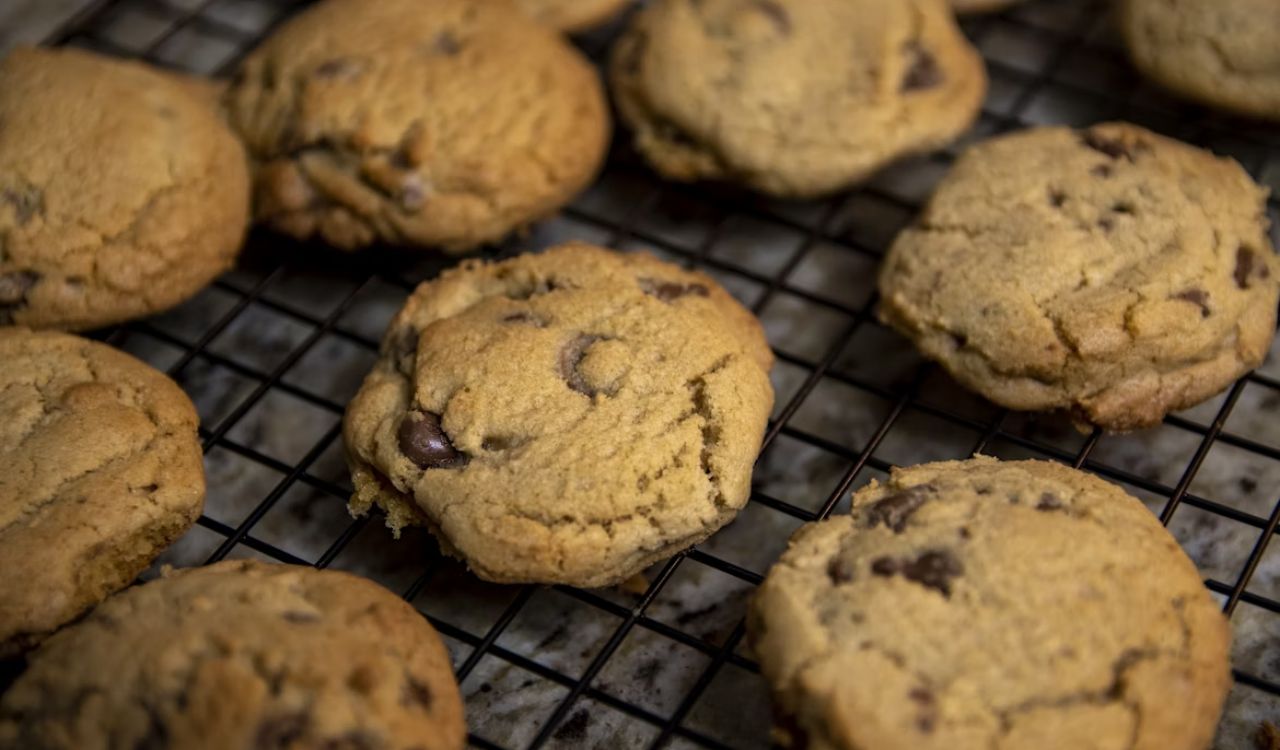
Patience is part of baking. Leaving items in their hot pans too long traps steam and turns bottoms soggy. Moving them to a wire rack allows air circulation, which keeps textures crisp and prevents over-moist results. Cakes should cool in the pan for a short time before being turned out, reducing the risk of breaking apart. Bread, meanwhile, should be cooled completely before slicing to avoid a gummy interior. Proper cooling not only protects structure but also deepens flavor as the baked goods finish setting, making the final bite more rewarding.
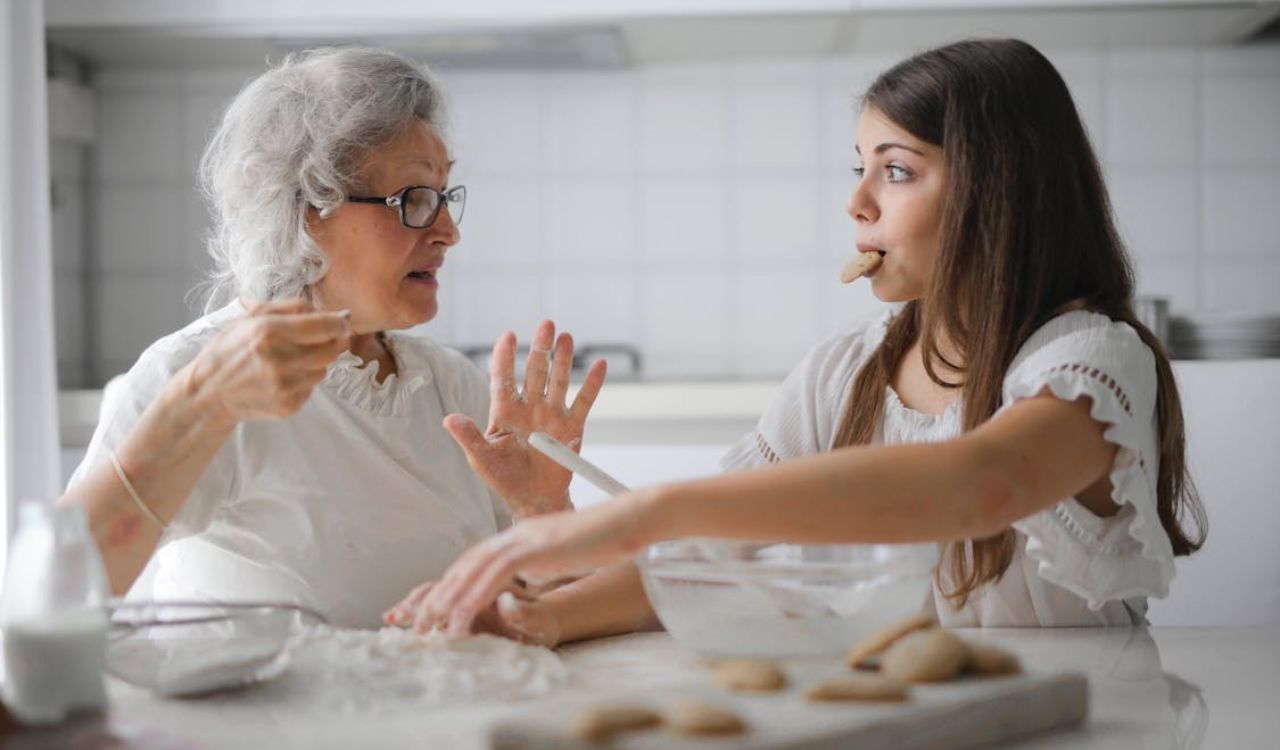
Practice with Simple Recipes First
While elaborate pastries or layered cakes are appealing, they can overwhelm beginners. Building skills with simpler recipes first is a smarter path. Start with cookies, muffins, or quick breads to practice key steps like measuring, mixing, and checking doneness. These quick bakes provide faster feedback and are more forgiving if mistakes happen. Once confident, move on to more challenging projects like pies, yeast breads, or decorated cakes. Baking is a hands-on skill, and confidence grows with repetition. Choosing approachable recipes early on sets you up for long-term success in the kitchen.