How to Pour Beer Perfectly Without Spills or Too Much Foam
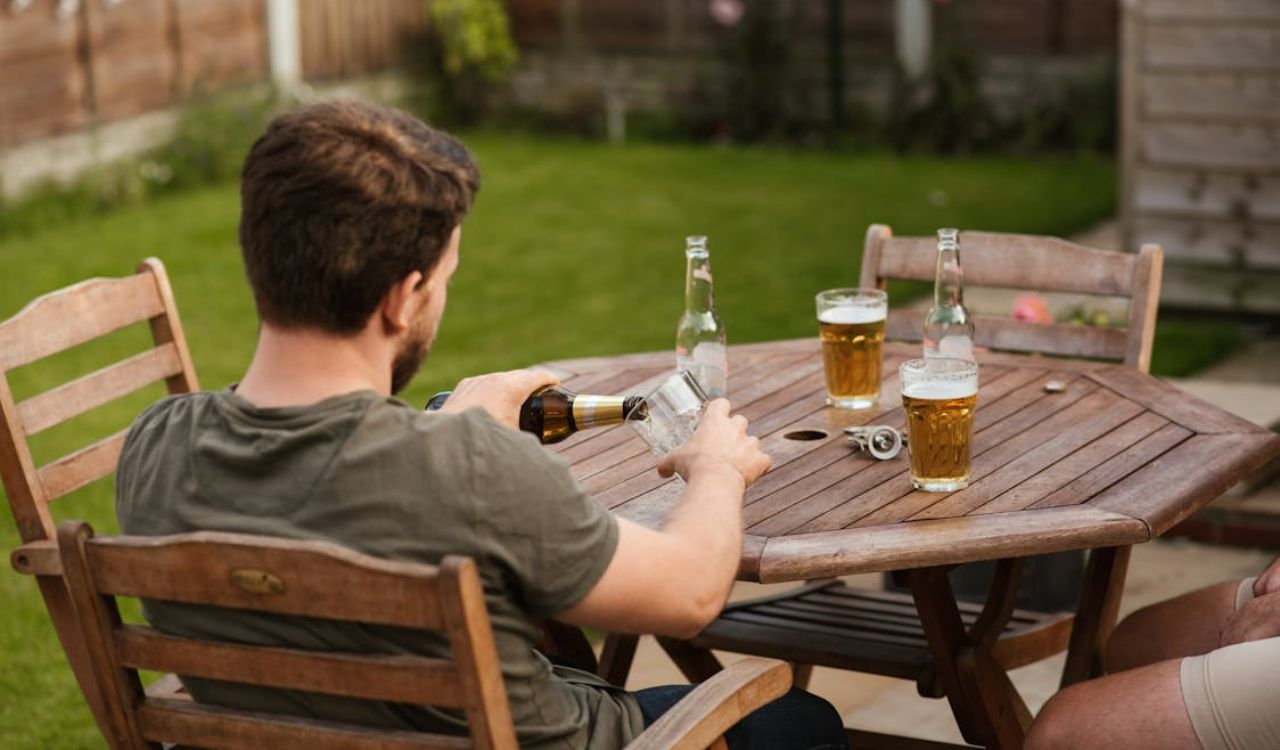
Pouring a beer is about more than getting it from bottle to glass. A perfect pour enhances aroma, flavor, and texture while maintaining a balanced foam head. It prevents the drink from going flat and ensures you enjoy every sip the way the brewer intended. Whether you are opening a craft IPA, a dark stout, or a simple lager, the right pour can bring out hidden notes and reduce excessive fizz. Follow these steps to pour beer like a professional while keeping your bar top spotless and your glass perfectly filled.
1. Choose the Right Glass

Every beer style has a glass designed to elevate its flavor and aroma. A tulip glass enhances the floral hops of IPAs, while a weizen glass showcases wheat beers with thick, fluffy heads. Pilsners are best served in tall, narrow glasses that highlight their golden clarity. Always start with a clean glass, free of soap residue or grease, which can ruin foam stability. Avoid frosted glasses; freezing kills carbonation and mutes flavor. A cool, clean, slightly chilled glass ensures proper head retention and lets the beer’s aroma shine through naturally.
2. Hold the Glass at a 45-Degree Angle
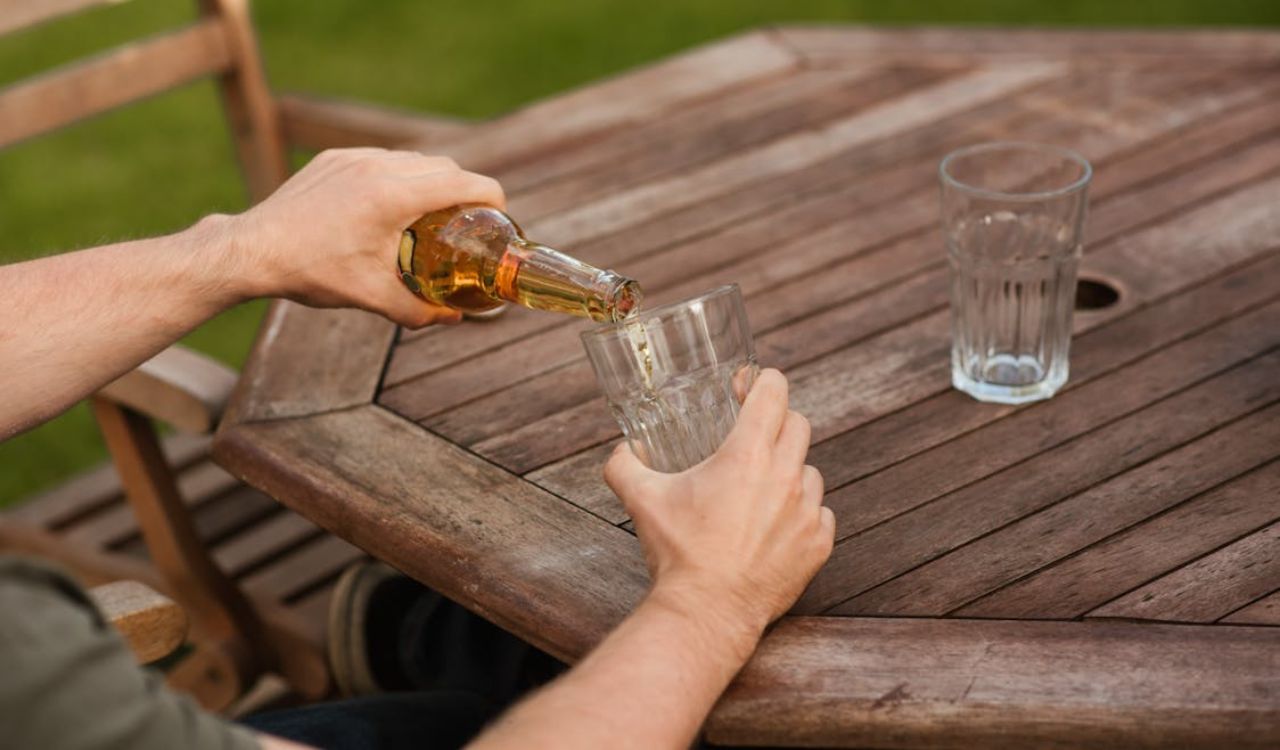
The angle is the key to reducing excess foam. Start your pour with the glass tilted at about 45 degrees and aim the stream of beer down the inner wall. This helps the liquid flow smoothly without creating too much agitation. Once the glass is half full, slowly tilt it upright to form a proper head. Pouring straight down too early traps air, causing a large, unstable foam, while pouring too gently leaves the beer flat. Mastering this motion is the foundation of every perfect pour.
3. Pour Slowly and Steadily

Rushing the pour is one of the most common mistakes. A controlled, steady pour allows carbonation to settle properly, preventing an explosion of foam. Hold the bottle or can about an inch above the rim and pour in a continuous stream. Avoid pausing mid-pour, as it disrupts the flow and affects head formation. Draft beer should be poured with the tap fully open to avoid splashing. By maintaining a smooth pour, you reduce turbulence and preserve the beer’s intended carbonation level and clarity.
4. Aim for the Ideal Foam Height

A proper foam head is essential for aroma and mouthfeel. Aim for about one to two inches of foam, depending on the beer style. This layer traps aromas, releases carbon dioxide slowly, and gives the beer its smooth texture. Too much foam can make the beer taste flat once it settles, while too little means the carbonation escapes too quickly. If you overpour, let the foam rest before topping off gently. Once you get the foam right, your beer will look beautiful and taste balanced with every sip.
5. Avoid Pouring Onto Foam
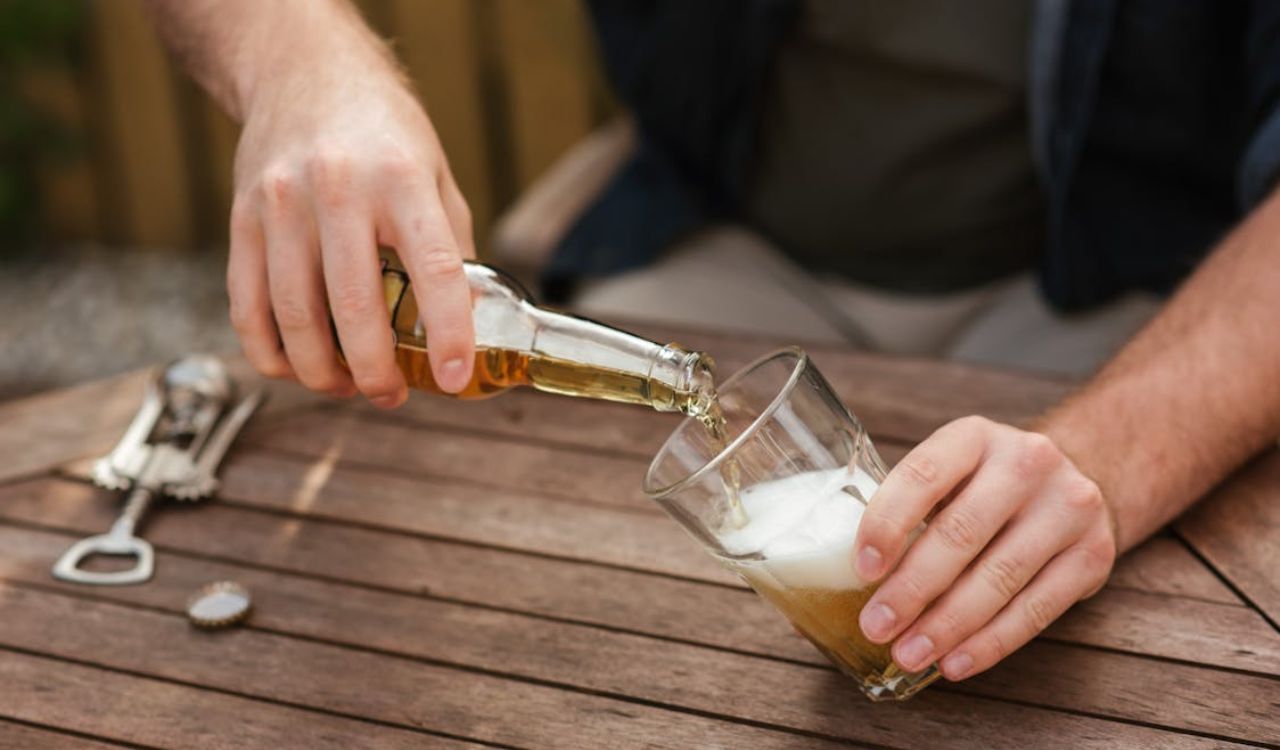
If your beer starts foaming early, stop pouring and let it settle before continuing. Pouring directly onto the foam breaks its structure, leaving your beer flat or uneven. Instead, resume by tilting the glass slightly and letting the liquid slide down the inner wall again. This preserves carbonation and maintains a consistent texture. Avoid stirring or shaking the glass to manage foam, as it only agitates bubbles further. Patience ensures your beer retains its intended body and clarity without messy overflow.
6. Pour at the Right Temperature
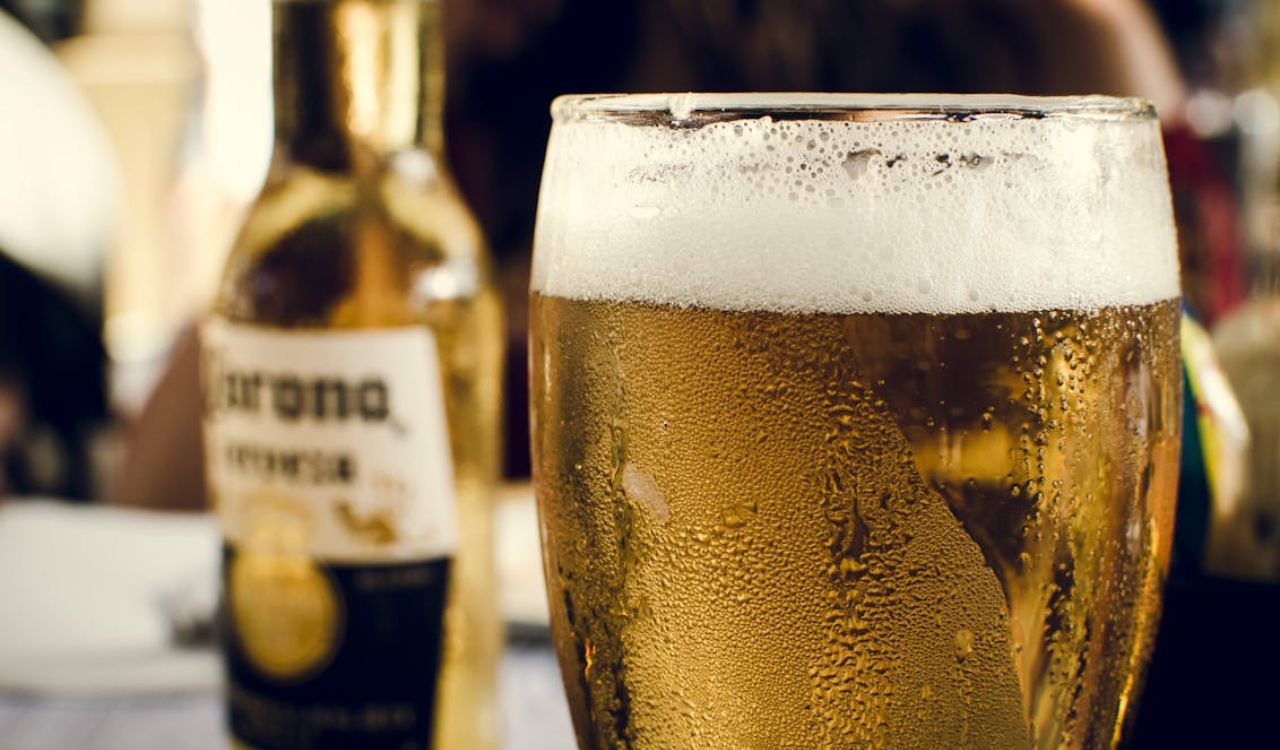
Temperature directly affects carbonation and flavor. Most beers pour best between 38°F and 45°F. Lighter beers, such as lagers and pilsners, are best on the cooler side, while darker ales or stouts reveal their flavors closer to 45°F. Too cold, and carbonation stays trapped, muting aroma; too warm, and foam overwhelms the glass. Store beer upright in the refrigerator and let it rest for a few minutes before opening. The right temperature guarantees smooth bubbles, better taste, and a consistent pour every time.
7. Do Not Re-Pour Once Settled
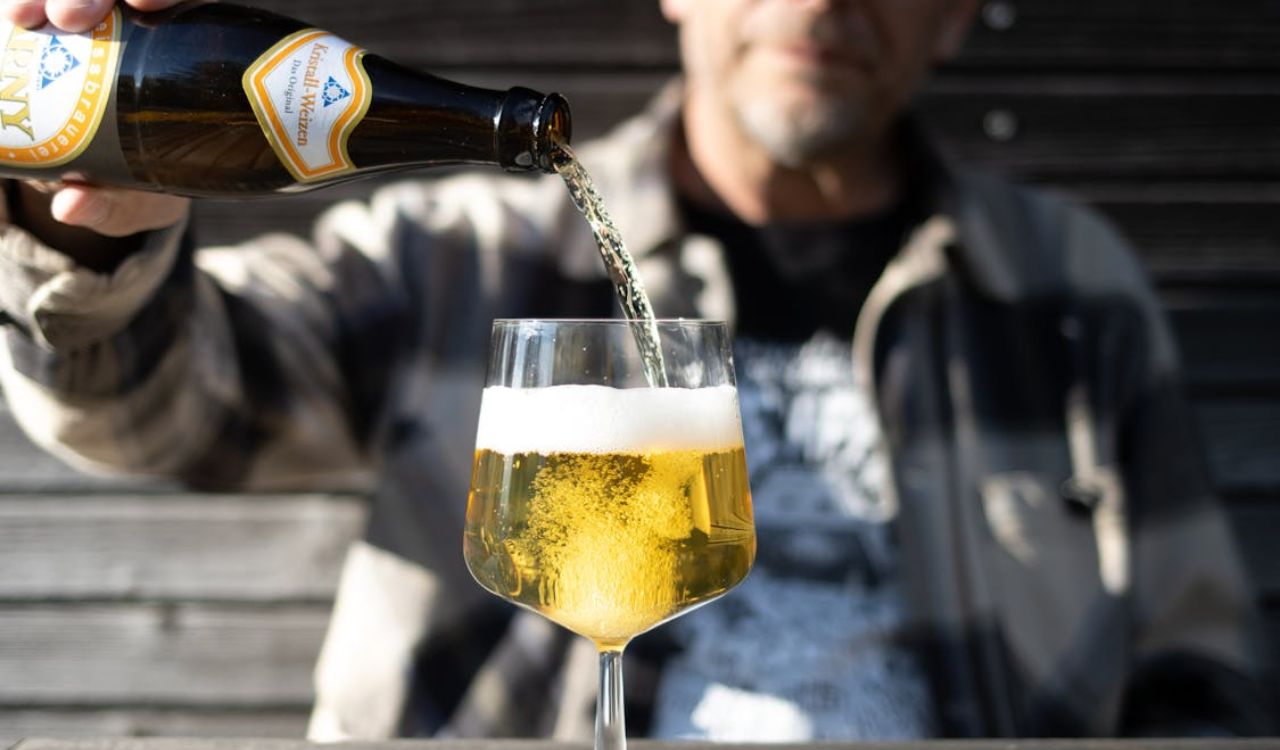
Once the beer has settled, avoid re-pouring or tilting the glass again. Doing so agitates the carbonation and disturbs the foam, leaving you with a flat, uneven drink. If you must top off, pour gently along the side, never directly into the center. A clean pour should be completed in one smooth motion from start to finish. When done correctly, you will notice a balanced head, clear body, and even lacing around the glass. The beer should rest naturally without any adjustments needed afterward.
8. Practice with Different Styles

Each beer style reacts differently when poured, so experimentation helps you refine your technique. Wheat beers need a stronger pour to create a thick, lasting head, while stouts benefit from a slower, steadier flow. Some bottle-conditioned beers contain yeast sediment, which can be swirled gently before pouring for extra texture. Practicing across styles also improves your awareness of carbonation levels and foam control. Over time, you will find your rhythm and confidence, transforming an ordinary pour into a moment of craft and care.


