You’re Probably Cooking Steak the Hard Way Here’s a Simpler Method That Works
There’s something deeply satisfying about cooking a good steak, but too many people make it harder than it needs to be. Between endless flipping, over-seasoning, and worrying about the “right” pan, the process often feels like a culinary exam. The truth? Great steak doesn’t require a chef’s degree-just a smarter approach.
Here’s the thing: steak rewards restraint. The less you do to it, the better it turns out. By focusing on technique instead of theatrics, you can achieve restaurant-level flavor with minimal effort. No smoke-filled kitchen, no complex marinades, no guesswork.
What follows is a breakdown of a simpler, stress-free way to cook steak-one that prioritizes heat, timing, and a few reliable tools. Once you get this method down, you’ll never go back to your old way again.
The Simplicity Starts Before the Pan
Most steak mistakes happen before the first sizzle. People either cook straight from the fridge or drown the meat in seasoning. The goal is to respect the cut, not disguise it. Letting it warm to room temperature, patting it dry, and adding just salt before cooking is often all you need.
Choosing the Right Cut
Thinner steaks cook too fast, leaving you with uneven doneness. Thicker cuts like ribeye or New York strip give you a margin for error. Buy fresh, well-marbled meat, and skip anything pre-tenderized. You’ll taste the difference right away.
Prepping for Success
Set the steak out 30 minutes before cooking. This helps it cook evenly and avoids a cold center. Blot it dry with paper towels-moisture is the enemy of a good sear. A sprinkle of salt is enough; pepper can burn, so add it after cooking.
The Two-Step Cooking Method
Forget flipping every minute or juggling thermometers. The two-step approach, then finish, takes the guesswork out. You start with high heat to build a crust, then lower the temperature to let the inside reach perfection.
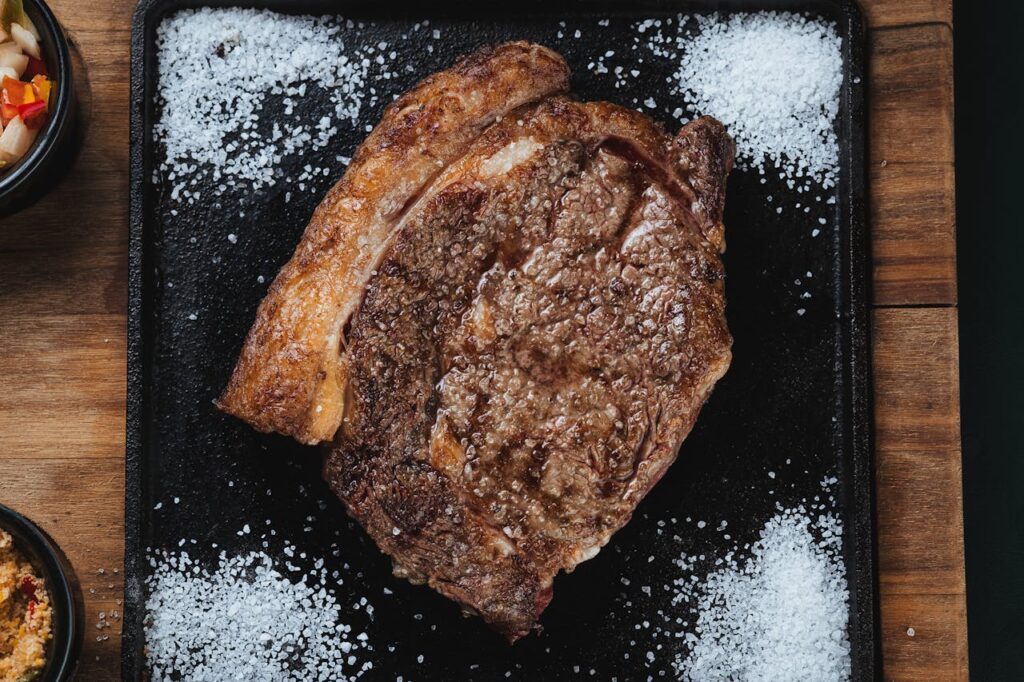
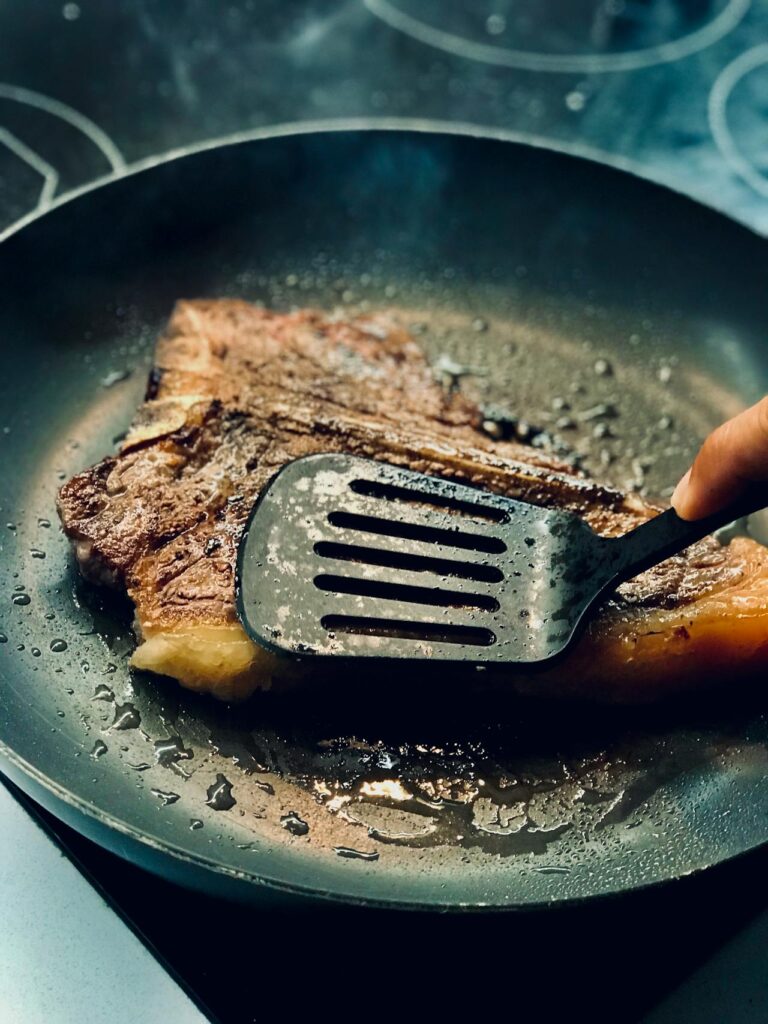
Step 1 – Sear with Confidence
Heat a cast-iron pan until it’s almost smoking. Add a little high-smoke-point oil, then the steak. Don’t move it for 2 minutes. That crust forms from direct contact and caramelization. Flip once, not five times.
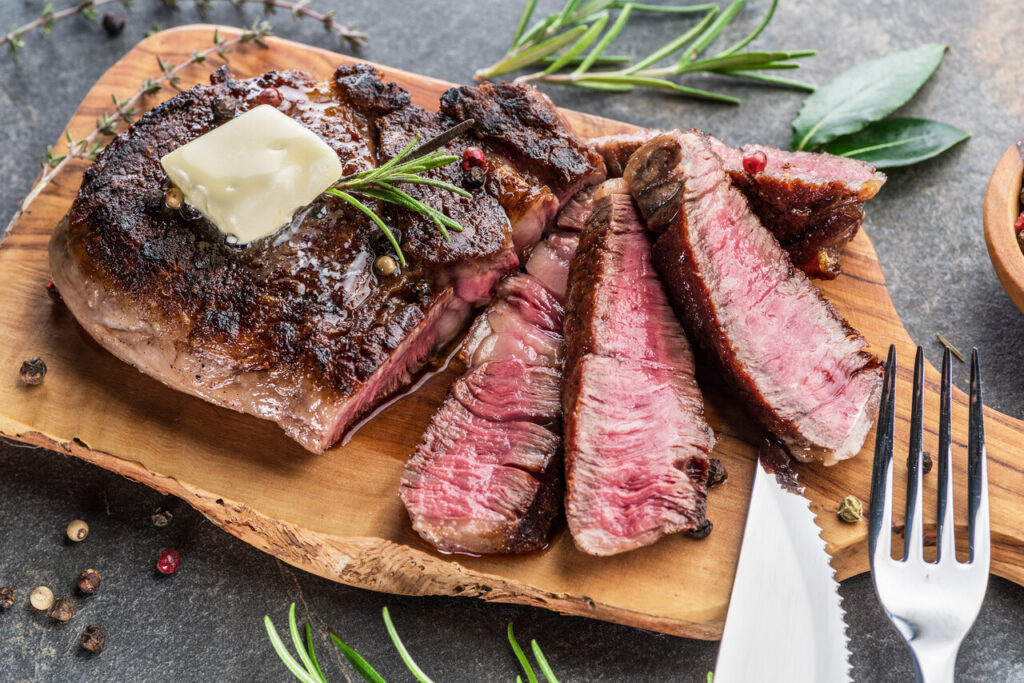
Step 2 – Finish Gently
Once both sides are seared, lower the heat or transfer to a 400°F oven. Cook to your target doneness-medium rare usually means 130–135°F internally. Use a thermometer instead of guessing. Let the steak rest 5–10 minutes before slicing to keep the juices inside.
Elevate Flavor Without Extra Work
Here’s where small touches go a long way. Instead of drowning steak in sauces, focus on finishing flavors that highlight the meat. Butter, herbs, and timing do most of the heavy lifting.
Butter Basting Trick
Near the end of cooking, add a tablespoon of butter, a crushed garlic clove, and herbs like thyme or rosemary. Spoon the melted butter over the steak for 30 seconds. It builds flavor and a glossy finish without extra effort.
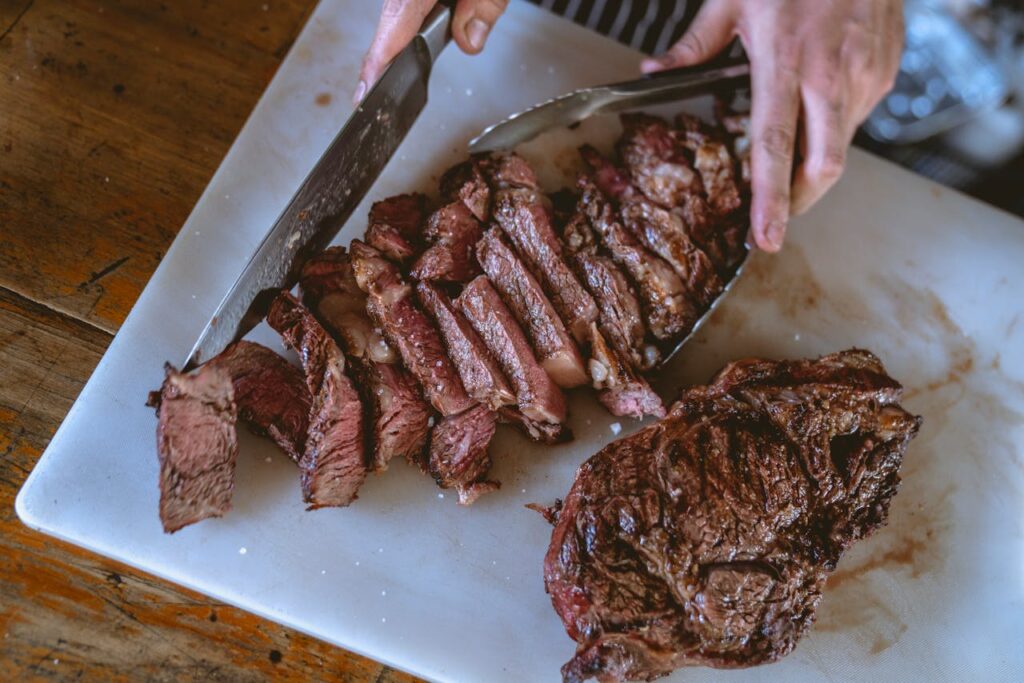
Rest and Slice the Right Way
Letting your steak rest isn’t optional-it’s essential. Cutting into it too soon releases the juices onto the plate. After resting, slice against the grain so every bite stays tender. Simple, but it changes everything.
The Bottom Line: Steak Night, Simplified
Cooking steak shouldn’t feel like a performance. With a good cut, dry surface, two-step method, and a few finishing touches, you can turn out perfect results every time. What this really means is less stress, less smoke, and more time enjoying what you cooked instead of overthinking it.