The Exact Taco Bell Mexi Melt Recipe Fans Still Miss
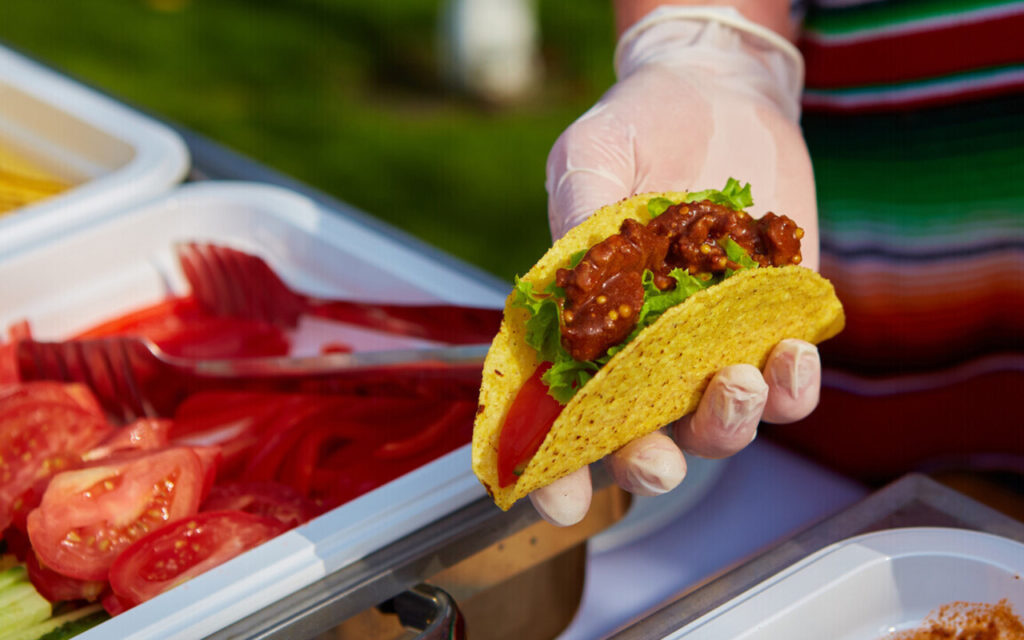
If you were a Taco Bell regular in the early 2000s, the MexiMelt was more than just a menu item-it was a cult favorite. A simple combination of seasoned beef, warm tortillas, melty cheese, and a touch of creamy sauce made it irresistible. Even though it has disappeared from the menu, fans still reminisce about it with nostalgia.
The beauty of the MexiMelt wasn’t just in its taste but in the balance of flavors. The beef had a smoky, seasoned punch, while the cheese added that gooey, comforting feel. Every bite was warm, indulgent, and perfectly handheld-a fast-food dream.
What’s striking is how this relatively simple taco managed to leave such a lasting impression. It wasn’t flashy or overloaded with ingredients, yet it had a depth that keeps fans longing for a homemade version.
Today, recreating the MexiMelt at home is not only possible but surprisingly easy. With the right ingredients and a few simple steps, you can bring back this classic Taco Bell favorite.
The Secret to the Perfect MexiMelt Beef
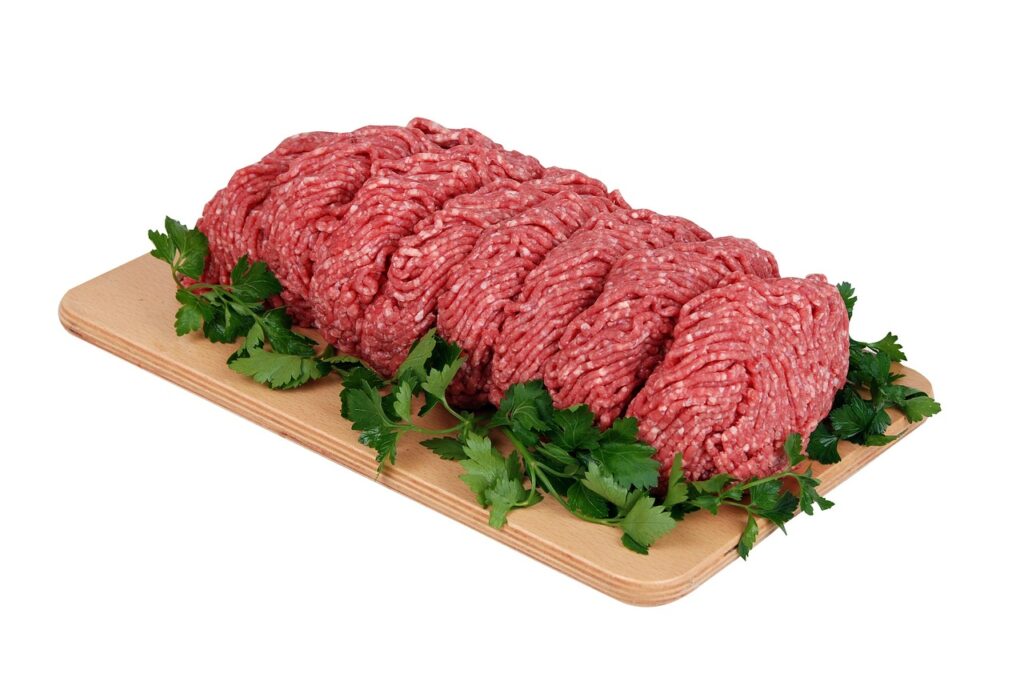
The heart of the MexiMelt was its seasoned beef. Getting this just right is crucial if you want your homemade version to taste authentic.
Choosing the Right Beef
Start with ground beef that’s at least 80% lean for the right balance of juiciness and flavor. A slightly fattier blend will help the beef stay tender when cooked.
Season generously with a blend of chili powder, cumin, paprika, onion, and garlic powder. What made the original stand out was the smoky depth, so don’t skip smoked paprika or a dash of chipotle powder.
Brown the beef over medium heat, breaking it up into small pieces. Add a little water or beef broth to keep it moist, and simmer until it’s fully flavored. This step ensures that the beef isn’t dry and captures the signature Taco Bell texture.
Locking in Flavor
A small spoon of tomato paste can add richness, while a pinch of sugar balances acidity. Finish with salt and pepper to taste. Let the mixture rest for a few minutes to meld the flavors before assembling your MexiMelt.
The Cheese and Sauce That Made It Melt

The MexiMelt’s defining feature was its creamy, cheesy layer. Achieving the right consistency is key to a perfect melt.
Choosing the Cheese
Use a processed cheese blend similar to American or mild cheddar to replicate that signature Taco Bell gooeyness. Shredded cheese works well, as it melts evenly and stretches perfectly.
Layer the cheese over the hot beef immediately after cooking. The residual heat will melt it slightly, giving that comforting, gooey pull fans remember.
The Creamy Sauce Factor
A simple sauce made from mayonnaise, a touch of mustard, and mild hot sauce replicates the original flavor profile. Adjust the spice level according to taste, but aim for a creamy texture that complements, rather than overpowers, the beef and cheese.
Assembling Your Homemade MexiMelt

Once your beef, cheese, and sauce are ready, the assembly determines if your MexiMelt is truly authentic.
The Tortilla Base
Use a soft flour tortilla and warm it lightly before layering. This ensures it stays pliable and doesn’t tear when folding around the fillings.
Layering for Maximum Flavor
Start with the beef, then sauce, and finally the cheese. Fold in half and toast on a skillet until golden brown. The goal is a crisp exterior with a warm, cheesy interior. Serve immediately to enjoy the full experience.
Bringing Back the MexiMelt
Recreating the Taco Bell MexiMelt at home is easier than you might think. With carefully seasoned beef, a gooey cheese layer, and a creamy sauce, you can bring back the flavors fans still miss. Each bite is a nod to the past and a reminder of why some fast-food items leave a lasting impression. Now, you can enjoy this classic comfort food any time without leaving your kitchen.