8 Tricks To Make Sure Your Onion Ring Breading Actually Sticks
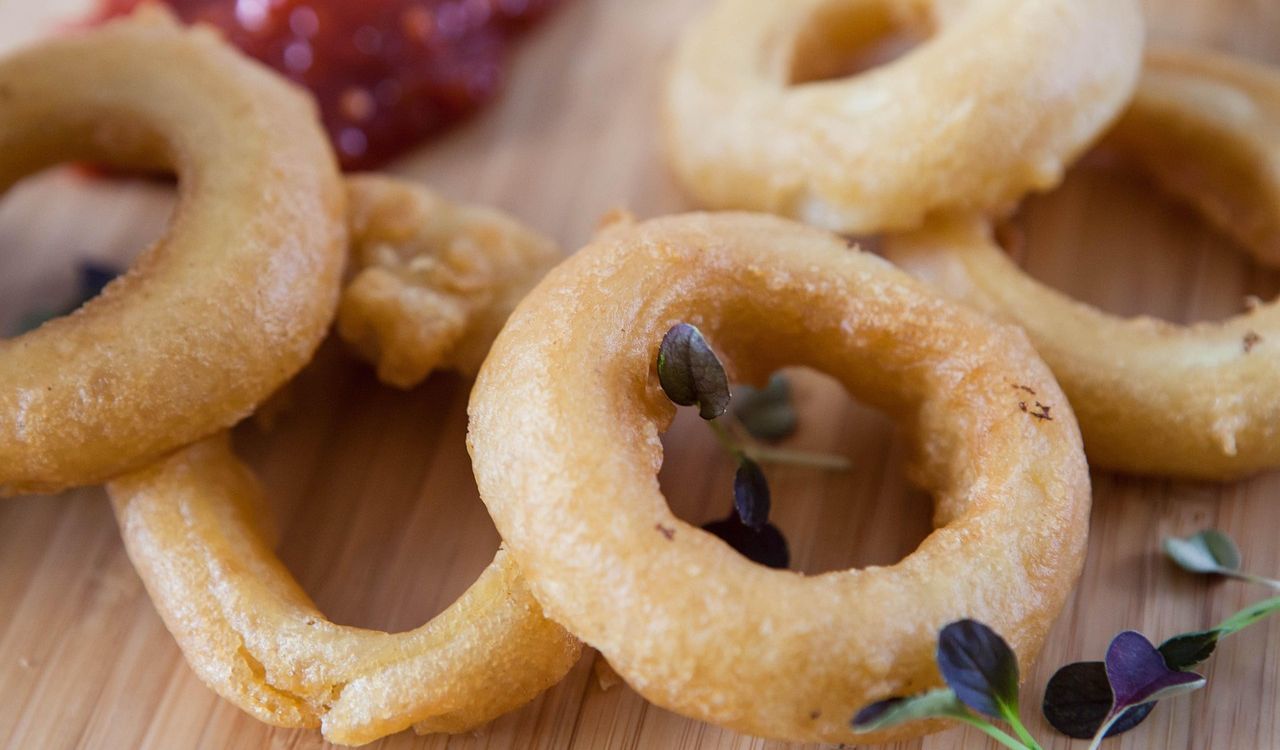
There’s nothing worse than biting into an onion ring only to have the crunchy coating slide right off. Getting that golden crust to stay in place can feel tricky, but with a few smart kitchen hacks, you can lock in the breading so every bite delivers the perfect crunch. The key is treating the onion, batter, and breadcrumbs with a little extra care. Here are eight simple tricks that help your onion rings stay crispy, golden, and fully coated from the fryer to your plate.
1. Pat Onions Dry Before Breading
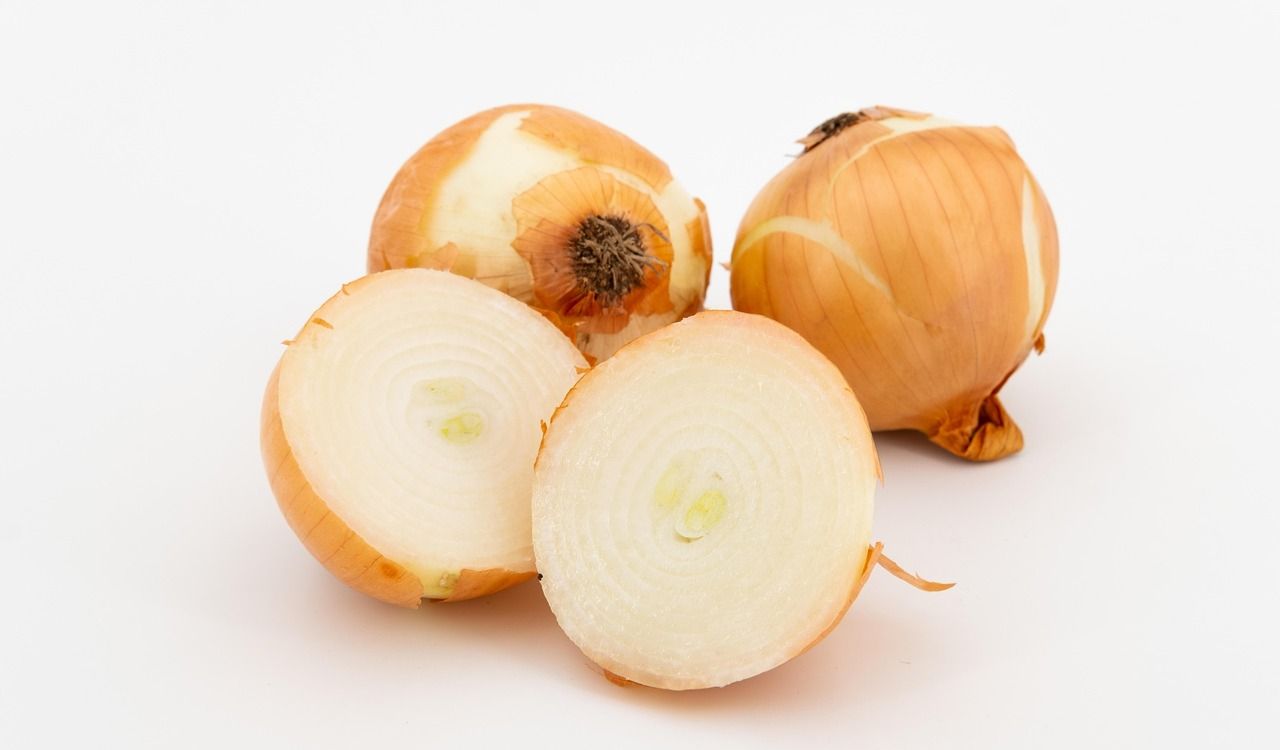
A successful coating begins before the batter even touches the onion. After slicing, blot the rings thoroughly with paper towels to remove surface moisture. Onions naturally release water, which makes breading slide off instead of sticking. A dry surface helps the first layer of flour cling more securely, creating a solid foundation for the rest of the coating. Skipping this step often leads to batter peeling away during frying. Take a moment to pat the onions dry and you’ll notice a big improvement in how well the crust stays on.
2. Dust with Flour to Create a Base Layer
Before dipping your onion rings into liquid batter, roll them in flour or cornstarch. This first layer acts like glue, giving the wet batter a slightly sticky surface to hold onto. Without it, the coating often slips off as soon as the rings hit the oil. Use a shallow dish and shake off any extra so it doesn’t clump. Aim for a thin, even dusting rather than a heavy coat. It’s a small step, but one of the most effective ways to make sure your breading stays put.
3. Chill Coated Rings Before Frying
Once your onion rings are fully coated, place them on a tray and refrigerate for 15 to 20 minutes before frying. This short rest allows the batter and breadcrumbs to bond with the onion, forming a stronger crust. If rings go straight from dipping to hot oil, the sudden temperature change can cause the coating to loosen. A quick chill prevents this and produces onion rings that hold their breading better. It’s a simple step that gives you a crunchier texture and more professional-looking results.
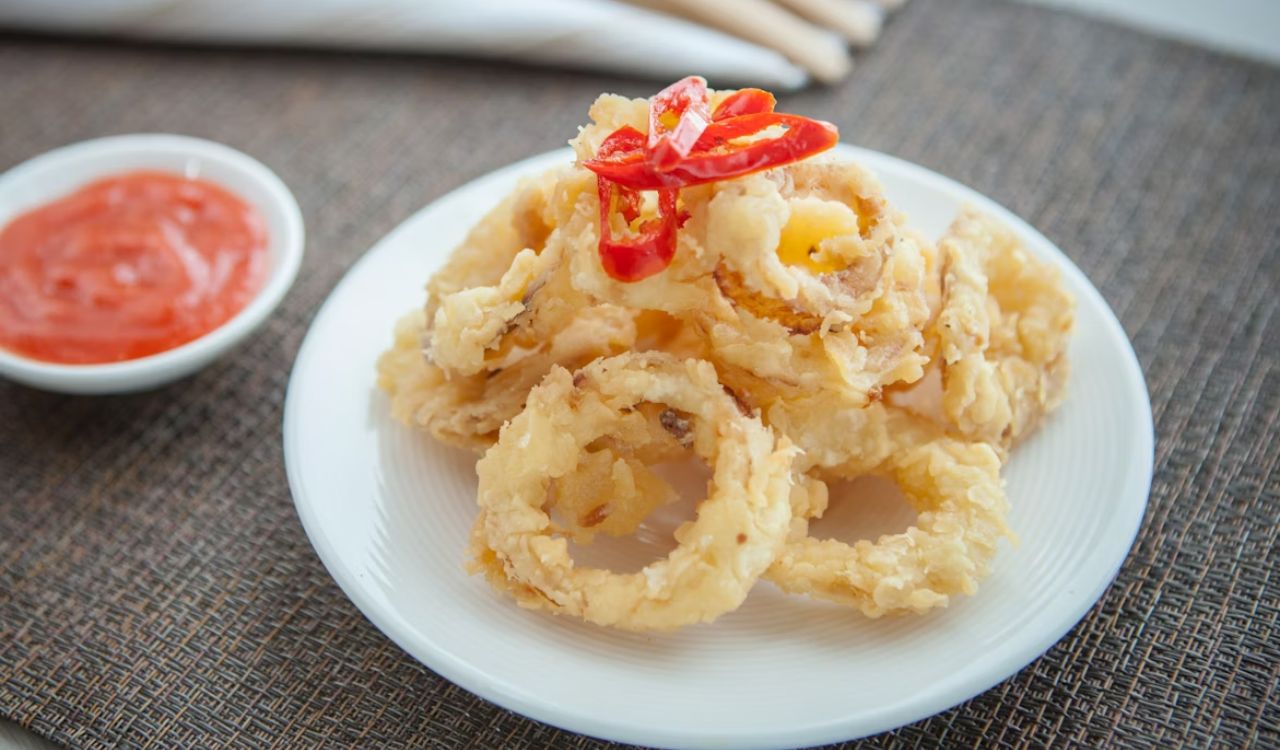
4. Dip Twice for a Stronger Coating
If you’ve had breading fall off after one coating, try dipping again. First, dredge the onion rings in flour, then dip in batter, then coat with breadcrumbs. Repeat the batter and breadcrumb step once more for added security. This layering creates a sturdier, restaurant-style crunch that stays intact after frying. Just keep each coating light so the rings don’t get too heavy or greasy. Double-dipping is a quick fix that pays off with onion rings that look and taste like they came from a diner kitchen.
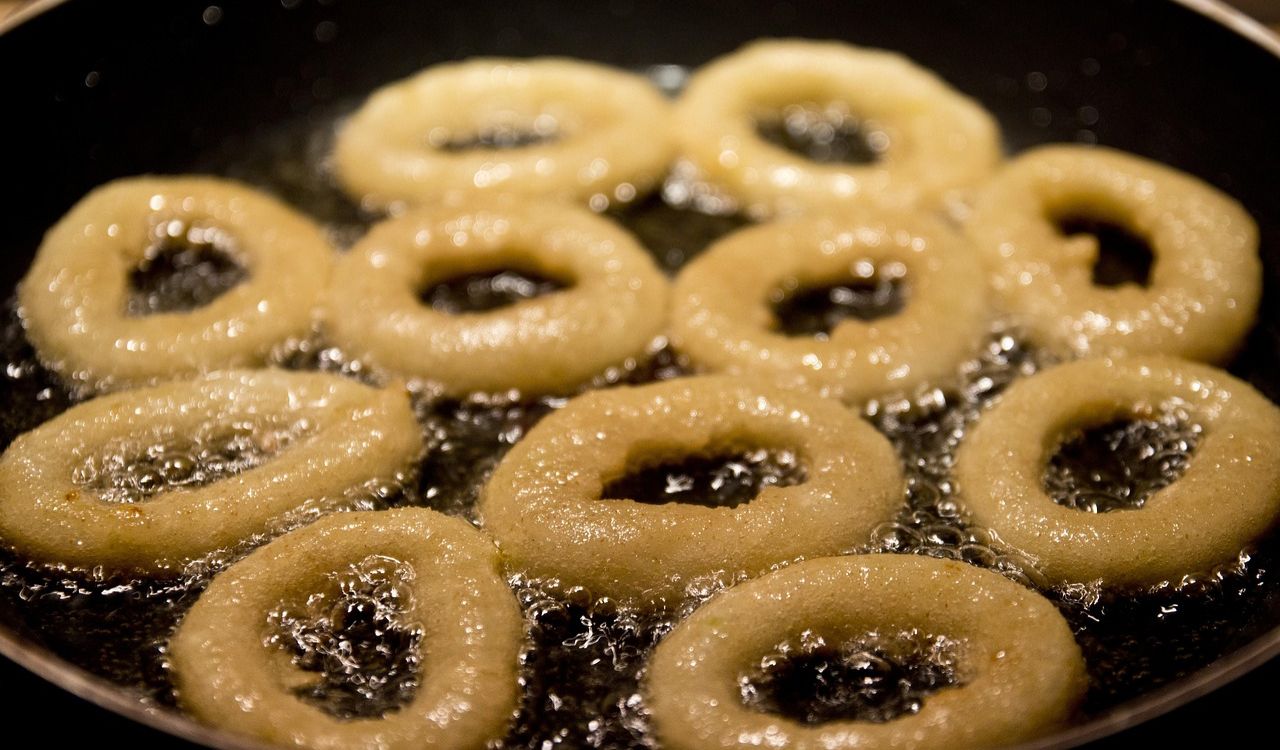
5. Avoid Overcrowding in the Fryer
When onion rings are packed too tightly in the fryer, they bump against each other and lose chunks of breading. To prevent this, cook in small batches with plenty of space around each ring. The oil also maintains its temperature better, which is crucial for crisping the coating quickly. Overcrowding lowers the heat, which leads to soggy breading that peels away. Frying in batches may take more time, but the payoff is onion rings that are evenly cooked, perfectly crisp, and fully coated.
6. Use Cold Batter for Better Grip
Temperature matters more than most people realize. Using cold batter helps it stick to the onion instead of sliding off. When the chilled mixture hits hot oil, it firms up instantly, locking the coating in place. Keep your batter in the refrigerator until just before frying, and stir it gently before dipping. Cold batter also produces a lighter, crunchier crust compared to room-temperature versions. If your breading often slips away, this small adjustment can make a noticeable difference in texture and appearance.
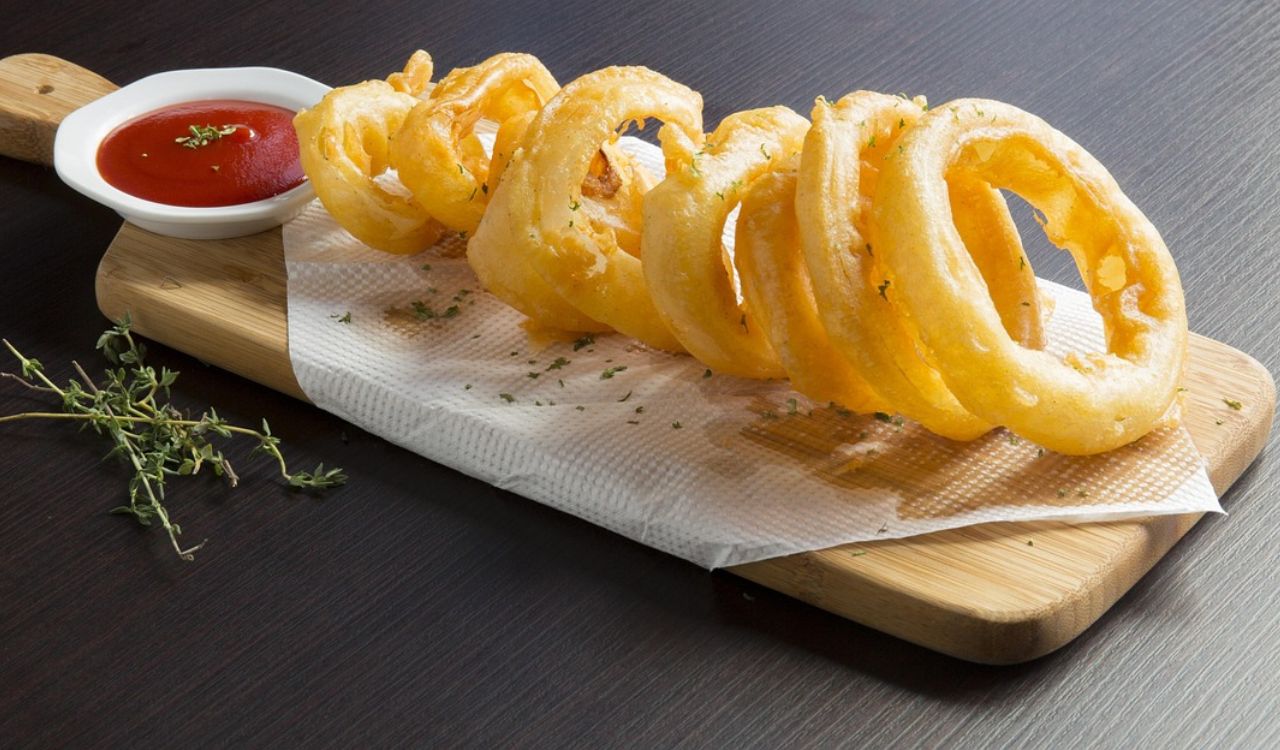
7. Let Fried Rings Rest on a Wire Rack
After frying, don’t stack onion rings on paper towels. While towels absorb oil, they also trap steam underneath, which softens the coating and makes it peel off. Instead, transfer freshly fried rings to a wire rack set over a baking sheet. This setup lets excess oil drain away while air circulates around the rings, keeping the crust crunchy. If you’re making a large batch, keep the rack in a warm oven until serving. It’s a tiny change that prevents soggy breading and ensures every bite stays crisp.
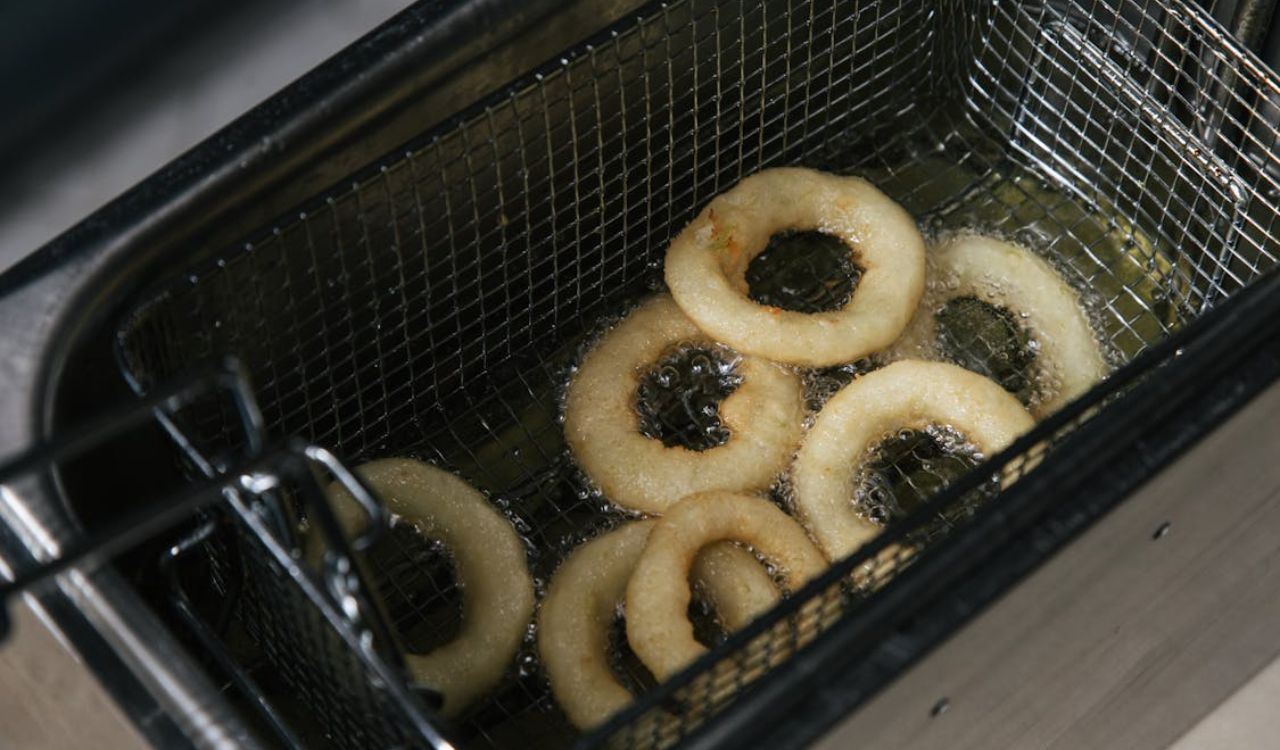
8. Choose the Right Oil Temperature
Oil that’s too cool creates greasy onion rings with breading that falls off, while oil that’s too hot can burn the outside before the onion softens. The ideal range is between 350 and 375°F. At this heat, the coating sets quickly and stays in place while the onion cooks through. Use a thermometer to check, since guessing often leads to uneven results. Holding the right temperature ensures every batch comes out crisp, golden, and perfectly coated without the dreaded sliding batter problem.